Design and Print Custom Mugs with Heat Press Like a Pro
Are you looking to add a personal touch to your morning routine or create unique gifts for your loved ones? Designing and printing custom mugs allows you to unleash your creativity and bring your imagination to life. With the help of a mug press, you can achieve professional-quality results that are durable and long-lasting. In this guide, we’ll walk you through the process of designing and printing custom mugs using a heat press, empowering you to become a pro in no time.
Understanding Mug Press and Sublimation Printing
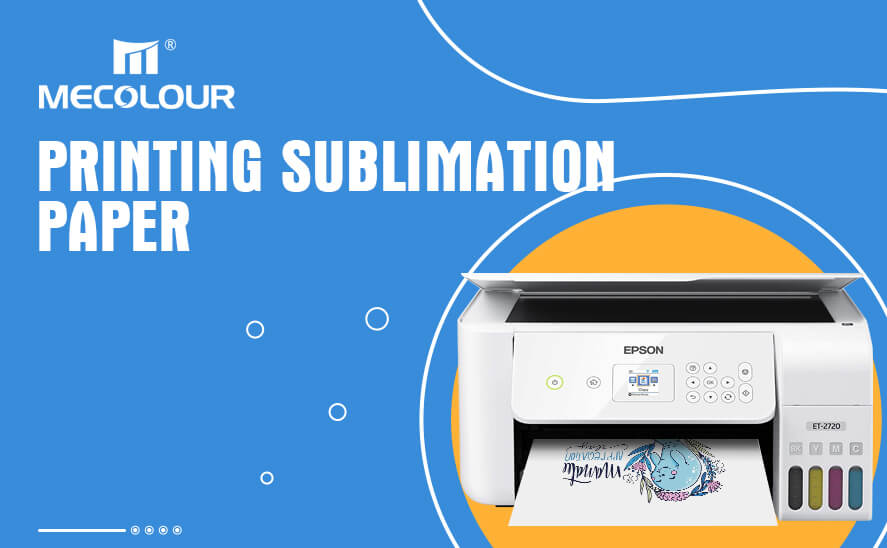
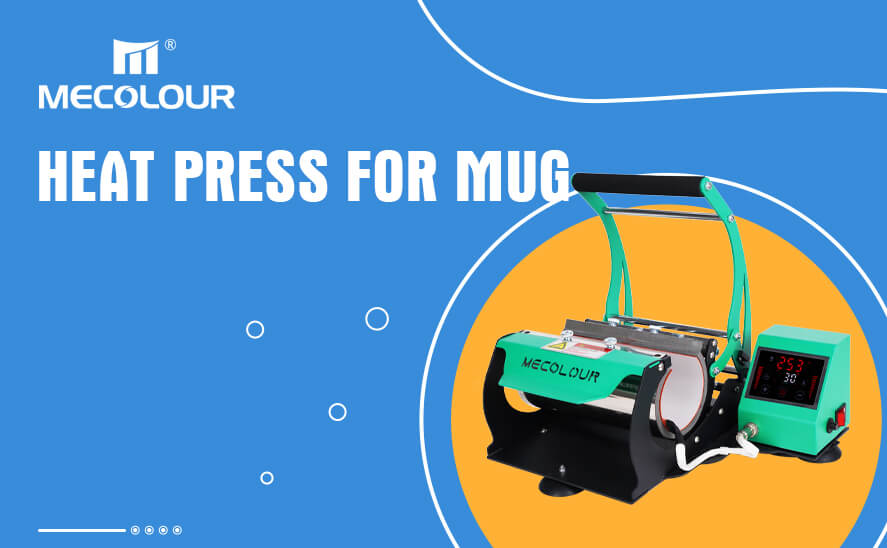
A heat press is a machine used to transfer designs onto various surfaces using heat and pressure. Sublimation printing is a popular method that involves printing designs onto sublimation paper with specialized sublimation inks. The heat press then transfers the design from the paper onto the mug, resulting in vibrant and permanent prints.
Choosing the Right Mug and Sublimation Coating
To achieve the best results, it’s important to select mugs specifically designed for sublimation printing. These mugs have a polymer coating that allows the ink to bond with the surface, ensuring a durable and high-quality print. Make sure to choose mugs that are suitable for use with a mug press and have a smooth surface to ensure optimal image transfer.
Designing Your Custom Mug
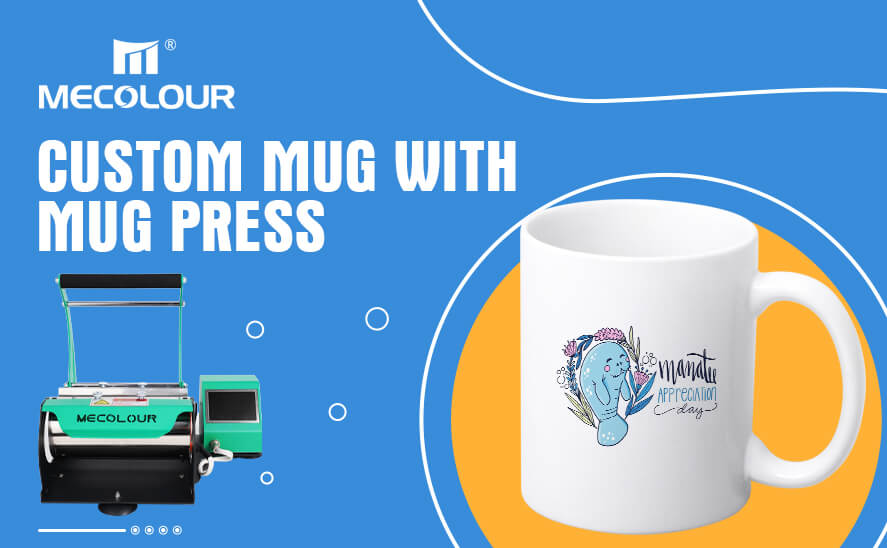
Let your creativity soar when designing your custom mug. Use graphic design software or online tools to create or customize your artwork. Remember to consider the dimensions and shape of the mug when designing to ensure proper placement and alignment of your design.
Preparing the Mug for Printing
Before printing, clean the mug thoroughly to remove any dirt, oils, or residues that may affect the print quality. Wipe the surface with a lint-free cloth and ensure it is completely dry before proceeding.
Mug Press Operation and Printing Process
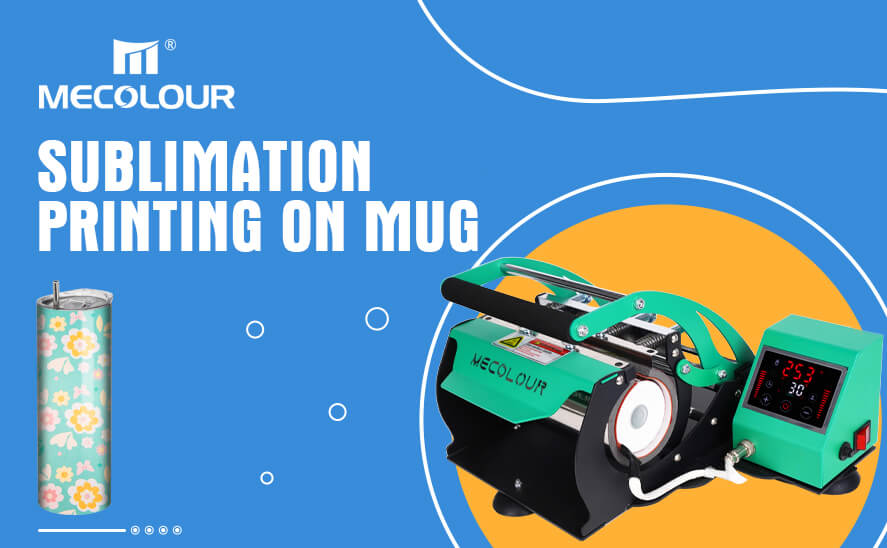
Set the mug press temperature and time according to the manufacturer’s instructions. Typically, sublimation printing requires temperatures around 350-400°F (175-200°C) and a pressing time of 60-90 seconds.
Place the sublimation paper with your design facing the mug, ensuring it covers the desired area.
Position the mug in the heat press, aligning it with the transfer paper.
Close the heat press and apply the recommended pressure.
Start the pressing cycle, and the heat and pressure will transfer the design onto the mug.
Once the pressing time is complete, carefully remove the mug from the heat press.
Finalizing and Caring for Your Custom Mug
After printing, let the mug cool down completely before handling. Remove any excess sublimation paper or residue, and inspect the print for any imperfections. If desired, you can further enhance the durability of the print by using a heat-resistant spray or coating specifically designed for sublimation prints. Remember to follow the manufacturer’s instructions for proper usage.
To ensure the longevity of your custom mug, it is recommended to hand wash it with a mild detergent. Avoid abrasive materials and dishwashers, as they can potentially damage the print.
With a heat press and sublimation printing, you can unleash your creativity and design custom mugs like a professional. By following the steps outlined in this guide, you can create personalized mugs with vibrant and long-lasting prints.
Remember to choose sublimation-coated mugs, prepare the surface properly, and use the recommended settings on your heat press for optimal results. Now, let your imagination run wild and enjoy the process of designing and printing custom mugs that will delight yourself and your loved ones for years to come.


