How To Remove UV DTF Prints From Glass?
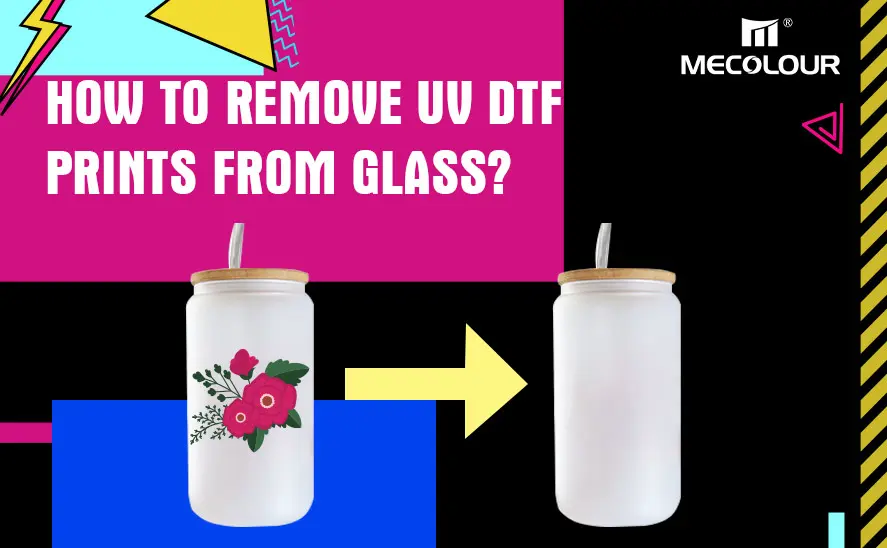
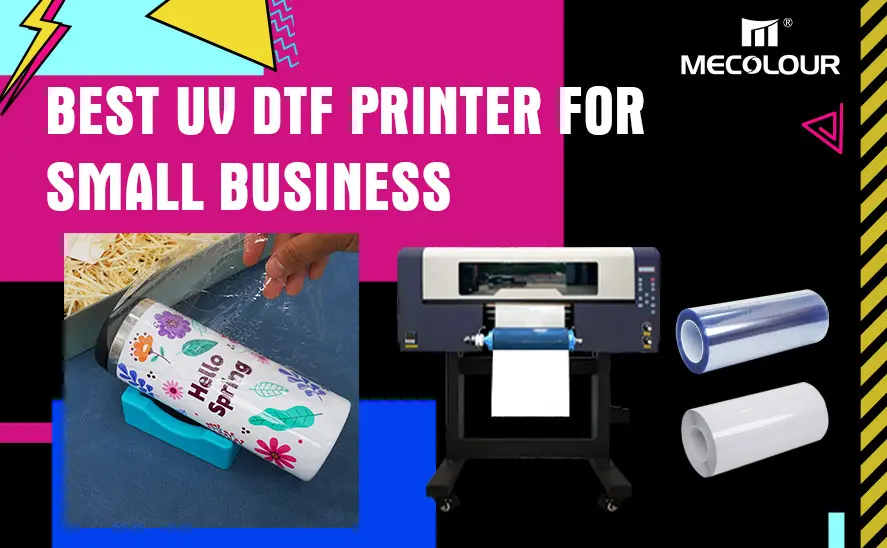
UV DTF (direct to film) printing has become a popular method for creating vibrant, durable designs on a variety of hard surfaces. UV DTF printers cure ink onto film, which is then transferred to a variety of substrates, including glass. The UV DTF film is designed with an adhesive backing that bonds securely to surfaces, making it ideal for producing long-lasting, high-quality prints. While this bonding is good for permanence, it can also make removal tricky if you need to change or remove a design. However, with the right tools and technique, it is possible to remove UV DTF prints without damaging the glass.
Here are the steps to remove UV DTF prints from glass:
Materials You’ll Need:
- A heat gun or hairdryer
- A plastic scraper or spatula
- Isopropyl alcohol (or rubbing alcohol)
- A microfiber cloth
- Adhesive remover (optional)
- Soap and water
- Gloves (optional, for protection)
Step-by-Step Process:
1. Apply Heat
Use a heat gun or hairdryer to gently warm the surface of the UV DTF print. Hold the heat source about 6-8 inches from the glass and move it back and forth across the printed area.
The heat will soften the adhesive used in the UV DTF process, making it easier to remove. Be careful not to overheat the glass, as this could cause damage or breakage.
2. Gently Peel the Print
After a minute or two of applying heat, use a plastic scraper or spatula to gently lift the corner of the UV DTF print. Start from the edge and work your way in.
Do not use metal tools as they can scratch or damage the glass surface.
Slowly peel off the print, applying more heat as needed to keep the adhesive soft. If the print starts to tear or leave residue, you may need to reapply heat to soften the adhesive further.
3. Remove Adhesive Residue
Once the print is removed, use a cloth soaked in isopropyl alcohol to wipe off any remaining adhesive residue on the glass. Isopropyl alcohol is effective at breaking down adhesive and will not harm the glass surface.
For stubborn adhesive, you can use a commercial adhesive remover. Follow the manufacturer’s instructions and apply the remover to a cloth, then gently rub the area.
remover and cloth
4. Clean the Glass
After removing the print and any residue, wash the glass with soap and water to remove any remaining cleaning solution or alcohol. Dry it with a microfiber cloth for a streak-free finish.
5. Optional: Use a Razor Blade
If the print is still stuck or has left stubborn bits of adhesive, you can use a razor blade to carefully scrape off the residue. Make sure to hold the blade at a low angle to avoid scratching the glass. Always move the blade in a controlled, gentle motion.
Tips:
- If the print is large, work in smaller sections to ensure that you don’t damage the glass or the adhesive is not re-solidifying while you work.
- If you have trouble with the adhesive, commercial universal adhesive removers can help, but always test a small area first to ensure it won’t damage the glass.
- Always wear gloves if you are sensitive to chemicals like alcohol or adhesive remover.
By following these steps carefully, you should be able to remove the UV DTF print from glass without leaving any residue or damaging the surface.
Related:
What are the applications of UV DTF
UV DTF Transfers: Vibrant & Durable Prints
Top Applications of UV DTF Printers