How to Sublimate Tumblers in an Oven?
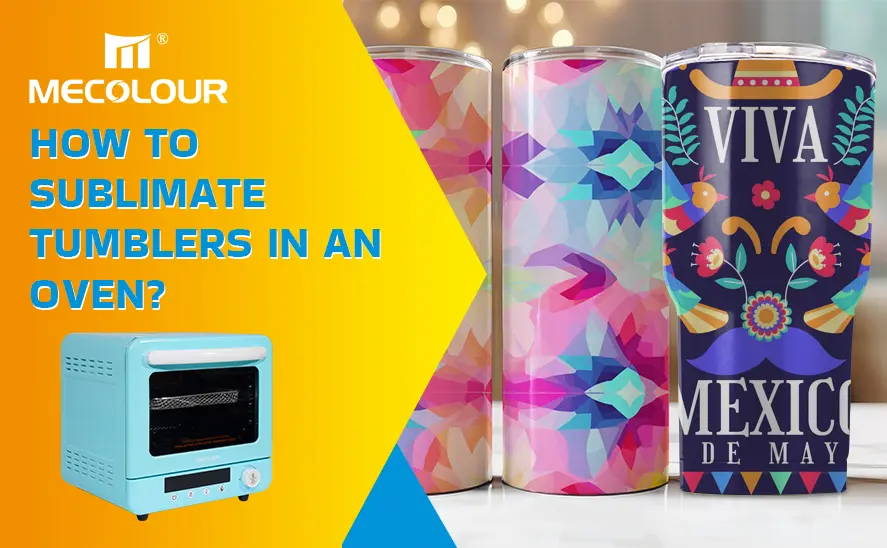
Sublimating tumblers in an oven is a popular and effective method for creating custom designs on tumblers. This process allows you to transfer vibrant and permanent images, logos, and text onto a tumbler using sublimation ink and heat. Unlike traditional printing methods, sublimation creates a long-lasting, scratch-resistant design that won’t fade over time. In this comprehensive guide, we will walk you through the step-by-step process of sublimating tumblers in an oven, covering everything from materials needed to troubleshooting common issues.
Materials Needed for Sublimating Tumblers in an Oven
Before starting the sublimation process, gather all the necessary materials to ensure a smooth workflow:
Sublimation Tumblers – Double-walled stainless steel tumblers are recommended. Ensure they have a sublimation coating.
Sublimation Paper – High-quality sublimation paper ensures better ink transfer.
Sublimation Ink – Use high-quality sublimation ink compatible with your printer.
Heat-Resistant Tape – To secure the design to the tumbler and prevent shifting during heating.
Shrink Wrap Sleeves – Helps to evenly distribute pressure and heat.
Sublimation Oven – A sublimation oven ensures even heat distribution for consistent results.
Heat Gloves – Protect your hands when handling hot tumblers.
Scissors or Craft Knife – For cutting sublimation paper and trimming excess material.
Heat Resistant Mat or Towel – To place the hot tumbler on after removal from the oven.
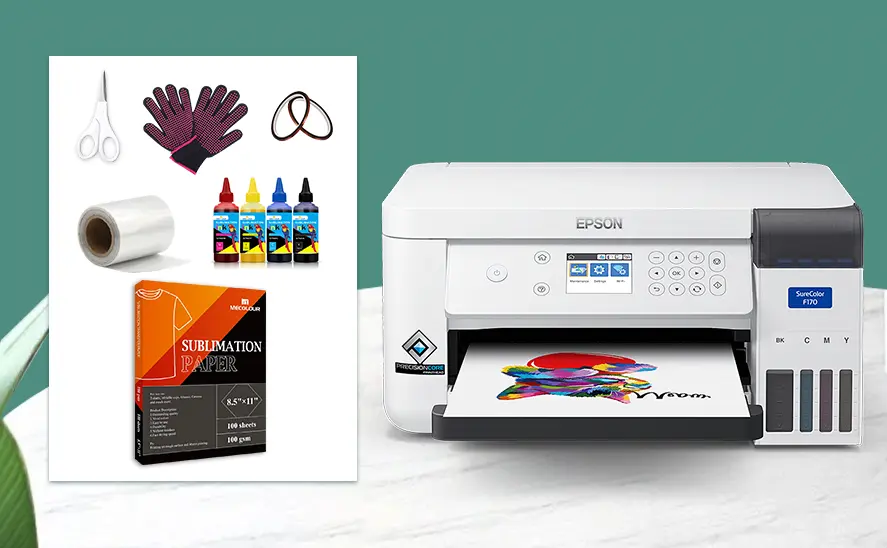
Materials Needed for Sublimation oven
Step-by-Step Guide to Sublimating Tumblers in an Oven
1. Prepare the Design
Create or Select a Design – Use graphic design software like Adobe Illustrator, Photoshop, or Canva to create a high-resolution design. Ensure the design dimensions match the size of the tumbler.
Mirror the Design – When printing your design, make sure to mirror the image. Sublimation transfers in reverse, so this step is essential for proper alignment.
Print the Design – Use a sublimation printer loaded with sublimation ink. Print on the white side of the sublimation paper for the best color transfer.
2. Prepare the Tumbler
Clean the Tumbler – Wipe the surface of the tumbler with isopropyl alcohol to remove any dust, oil, or residue. This ensures proper ink adherence.
Cut the Design to Size – Trim the printed design to match the dimensions of the tumbler.
Secure the Design to the Tumbler – Wrap the design tightly around the tumbler with the printed side facing inward. Use heat-resistant tape to secure the edges and prevent movement during heating.
Apply Shrink Wrap Sleeve – Slide the shrink wrap over the tumbler and use a heat gun to shrink it snugly around the tumbler. This ensures even pressure and prevents ghosting.
3. Heat the Tumbler in the Oven
Preheat the Oven – Set your sublimation oven to 350°F to 400°F (175°C to 200°C). Let the oven preheat completely before placing the tumbler inside.
Position the Tumbler – Place the tumbler on a heat-resistant mat or silicone rack inside the oven. Ensure it is positioned upright and not touching other objects.
Set the Timer – Heat the tumbler for 5 to 7 minutes. The exact time depends on the type of tumbler and your oven’s performance, so testing may be necessary.
Rotate (Optional) – If you notice uneven heating, rotate the tumbler halfway through the heating cycle for better results.
4. Cool and Finish the Tumbler
Remove the Tumbler – Carefully remove the tumbler using heat-resistant gloves.
Cool Down – Place the tumbler on a heat-resistant mat or towel and let it cool completely. Do not remove the wrap or tape until the tumbler is cool to the touch.
Remove the Wrap and Paper – Once cooled, carefully peel off the shrink wrap and sublimation paper.
Inspect the Result – Check for any gaps, fading, or ghosting. A smooth, vibrant finish indicates a successful transfer.
How to use mecolour sublimation oven to make irregular shape mug?
Tips for Successful Sublimation on Tumblers
✅ Use a Sublimation Oven Only
Regular ovens may cause uneven heat distribution, leading to poor results. A sublimation oven with a fan ensures consistent heat and pressure.
✅ Test Settings First
Since ovens and tumblers can vary, test different temperature and time settings on a sample tumbler before starting a large batch.
✅ Avoid Overheating
Overheating can cause color distortion, browning, or burnt edges. Stick to the recommended temperature and time range.
✅ Ensure Proper Pressure
A tight shrink wrap ensures even pressure and prevents the design from shifting or creating uneven areas.
✅ Keep the Tumbler Clean
Any oil, dust, or residue on the tumbler surface can prevent ink from bonding correctly, leading to faded or uneven results.
Common Problems and How to Fix Them
❌ Ghosting or Blurry Design
Cause: Movement of the design during heating.
Solution: Secure the design tightly with heat-resistant tape and shrink wrap.
❌ Faded Colors
Cause: Insufficient heat or time.
Solution: Increase the temperature slightly or extend the heating time by 30 to 60 seconds.
❌ Yellowing or Burn Marks
Cause: Overheating or exposure to direct heat.
Solution: Reduce the oven temperature or shorten the heating time.
❌ Design Peeling Off
Cause: Incomplete bonding between the ink and the coating.
Solution: Ensure the tumbler is clean and increase the pressure using a tighter shrink wrap.
Why Sublimation Tumblers in an Oven is a Great Choice
Sublimating tumblers in an oven offers several advantages over other methods:
Cost-Effective: Sublimation Ovens are affordable and widely available.
Even Heat Distribution: Sublimation ovens use a fan to circulate heat, ensuring consistent results.
Scalability: Once you perfect the settings, you can easily produce large batches of sublimated tumblers.
Durable and Vibrant Results: Sublimation ink becomes part of the coating, resulting in a scratch-resistant, dishwasher-safe finish.
Sublimating tumblers in an oven is a rewarding process that allows you to create professional-quality custom designs with ease. By following the step-by-step guide, preparing your materials properly, and paying attention to temperature and time settings, you can achieve vibrant, long-lasting results. Whether you’re creating personalized gifts or building a sublimation business, mastering the oven sublimation process is a game-changer.
Related:
New Arrival – Sublimation Oven
Comparison: Sublimation Oven vs. Heat Press
Can you use a normal oven for sublimation?