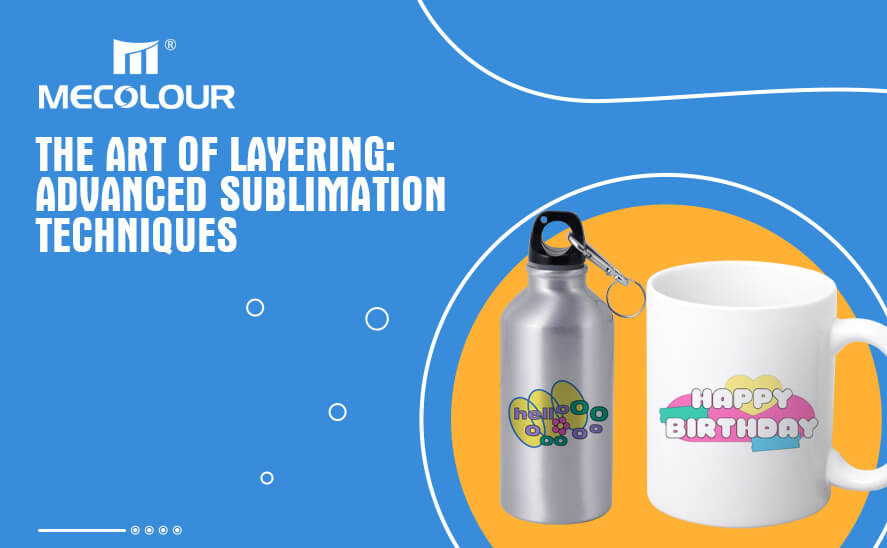
The Art of Layering: Advanced Sublimation Techniques

The art of layering is an advanced sublimation technique that allows you to create stunning and intricate designs on sublimation products. Layering involves printing multiple layers of color and images onto a substrate, resulting in vibrant and detailed final products.
What exactly is layering sublimation?
This is a technique that uses a heat press to print multiple layers of designs onto an item. This can be done in a number of ways. For layered sublimation, you can press two layers in two steps, or press two layers at a time. Both of these methods allow you to create unique and eye-catching projects.
Two Layers in Two Steps
This technique involves printing two separate layers of the design onto the substrate, each layer adding depth and detail to the final product. Here’s a step-by-step guide on how to execute the two layers in two steps technique:
Step 1: Design and Print the Base Layer
Start by designing the base layer of your sublimation product. This layer will serve as the foundation for your design.
Print the base layer onto sublimation transfer paper using a sublimation printer and ink. Ensure that you follow the proper printing guidelines for your specific printer and paper.
Prepare your substrate by ensuring it is clean and free from any dust or debris.
Align the printed transfer paper onto the substrate, making sure it is positioned correctly.
Use a heat press to apply heat and pressure to transfer the base layer onto the substrate. Follow the recommended time and temperature settings for your specific sublimation setup.
Once the transfer process is complete, remove the transfer paper, and allow the substrate to cool.
Step 2: Design and Print the Second Layer
Design the second layer of your sublimation product. This layer should complement and enhance the base layer, adding additional elements or details.
Print the second layer onto a separate sublimation transfer paper, following the printing guidelines for your printer and paper.
Carefully align the printed transfer paper with the previously transferred base layer on the substrate. Take your time to ensure precise positioning.
Use a heat press to apply heat and pressure once again, transferring the second layer onto the substrate. Refer to the recommended time and temperature settings for your specific sublimation setup.
Remove the transfer paper and allow the substrate to cool.
By using two layers in two steps, you can achieve a multi-dimensional and visually appealing sublimation design. The base layer provides the foundation, while the second layer adds intricate details, textures, or additional colors to enhance the overall design. This technique allows for greater creativity and customization, resulting in unique and eye-catching sublimation products.
Two Layers At Once
This method allows you to print two different layers of the design simultaneously onto the substrate, saving time and ensuring perfect alignment. Here’s a step-by-step guide on how to execute the two layers at once technique:
Step 1: Design your Sublimation Transfer
Start by designing your sublimation transfer using graphic design software such as Adobe Photoshop or Illustrator. Create separate layers for each element of your design that you want to print.
Arrange the layers in a way that they will overlap when printed. This overlapping will create the two layers effect on the final product.
Ensure that your design is properly sized and positioned on the virtual canvas, taking into account the size of your substrate.
Step 2: Print your Sublimation Transfer
Set up your sublimation printer and load it with sublimation transfer paper. Make sure you follow the manufacturer’s instructions for loading the paper and adjusting the printer settings.
Open your designed sublimation transfer file and send it to the printer.
Place your substrate on the heat press and position the printed transfer paper on top of it, ensuring that the design is facing down onto the substrate.
Apply heat and pressure using the heat press, following the recommended time and temperature settings for your specific sublimation setup.
Once the transfer process is complete, carefully remove the transfer paper from the substrate and allow it to cool.
The two layers at once technique allows you to achieve a multi-dimensional and detailed design without the need for multiple printing and transfer steps. By printing both layers simultaneously, you can ensure perfect alignment and minimize the chances of errors or misalignment.
Sublimation layering technique is a great way to add a little extra life to your projects. This method works for the following types of projects: Sublimation coffee mugs, various sublimation tumblers, sippy cups, glass cans, vacuum flask and so on.
8 Tips for Layering Sublimation
Here are some advanced sublimation techniques for mastering the art of layering:
1.Understanding Color Theory: Before diving into layering techniques, it’s essential to have a solid understanding of color theory. Familiarize yourself with concepts like complementary colors, color blending, and color harmony. This knowledge will help you create visually appealing designs by strategically layering colors.
2.Design Planning: Plan your design before starting the sublimation process. Break down your design into different layers and determine the order in which they should be printed. Consider which elements need to be printed first to avoid any unwanted overlapping or blending of colors.
3.Registration Marks: Registration marks are crucial for aligning different layers accurately. These small marks can be added to your design file and printed onto the transfer paper. By aligning the registration marks on each layer, you ensure that the colors and elements line up perfectly.
4.Test Prints and Adjustments: Before printing your final design, it’s advisable to do test prints on scrap material. This allows you to make any necessary adjustments to color saturation, image placement, or layer alignment. Test prints help you refine your technique and ensure that the final product meets your expectations.
5.Transparent Layers: Transparent layers can be used to add depth and dimension to your designs. By printing a translucent layer over a solid color, you can create a subtle gradient effect or simulate a shadow. Experiment with varying levels of transparency to achieve the desired effect.
6.Gradient Blending: Layering can be used to create seamless gradient blends. By gradually reducing the opacity of one color layer and increasing the opacity of another, you can achieve smooth transitions between colors. This technique is particularly effective for creating realistic backgrounds or complex color gradients.
7.Textures and Patterns: Layering allows you to incorporate textures and patterns into your designs. By overlaying a pattern or texture layer onto a base design, you can add visual interest and depth. Experiment with different patterns and textures to create unique and eye-catching designs.
8.Heat Pressing Techniques: Layering requires careful heat pressing to ensure that the colors and layers bond properly with the substrate. Use even pressure and the correct temperature and time settings recommended for your specific sublimation setup. Proper heat pressing guarantees vibrant colors and long-lasting designs.
Remember, mastering the art of layering in sublimation takes practice and experimentation. Keep exploring different techniques, push your creative boundaries, and learn from both successes and failures. With time and experience, you’ll develop your unique style and create stunning sublimation products that stand out in the market.
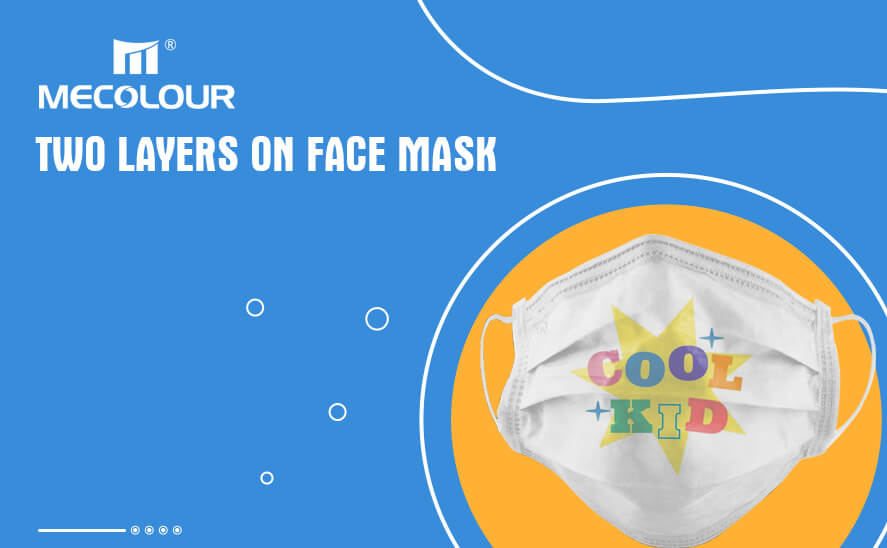
Layering sublimation is a great way to take your projects to the next level. Whether you’re making a t-shirt, tote bag, or even a face mask, layering sublimation is a great way to add a little something extra to your design.
So, if you’re looking for a way to make your projects even more unique, give layering sublimation a try!


