T-shirt, Mug, and Hat Printing with an 8 in 1 Heat Press Machine
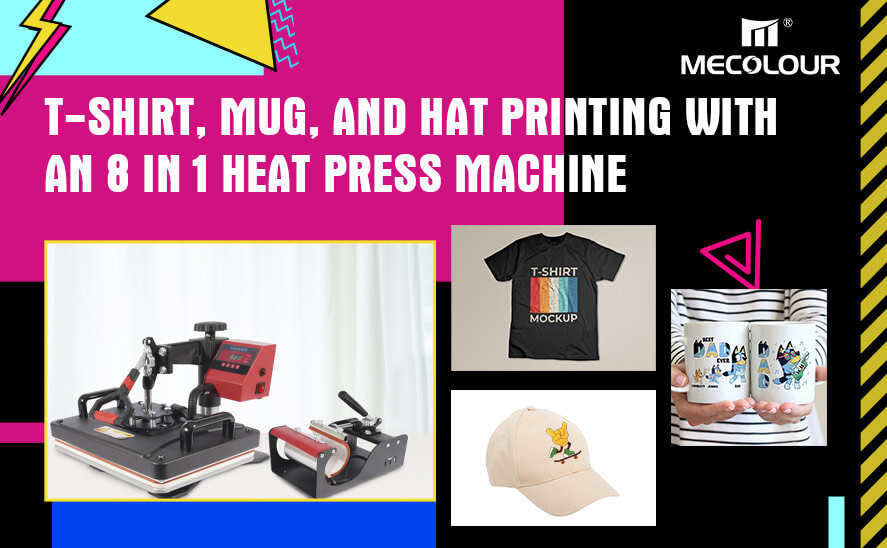
Are you looking to unleash your creativity and delve into the world of custom merchandise? Whether you’re an aspiring entrepreneur or a seasoned crafter, mastering the art of T-shirt, mug, and hat printing can open doors to endless possibilities. And with the advent of advanced technology, achieving professional-quality results has never been easier. Enter the 8 in 1 heat press machine–your ultimate tool for turning blank substrates into personalized masterpieces.
Getting to Know Your 8 in 1 Heat Press Machine
Before we dive into the nitty-gritty of printing, let’s take a moment to familiarize ourselves with the star of the show: your 8 in 1 heat press machine. Here’s a quick rundown of what this machine can do:
- T-shirt printing
- Mug printing
- Hat printing
- Plate printing
- Cap printing
- Ceramic tile printing
- Mouse pad printing
- Jigsaw puzzle printing
Pretty impressive, right? With all these options at your fingertips, you’ll be a printing pro in no time!
T-shirt Printing: Let’s Get Graphic!
A blank canvas just waiting to be transformed into a work of art! Here are some tips to help you master T-shirt printing with your 8 in 1 heat press machine:
Choose the Right Transfer Paper: Not all transfer papers are created equal. Make sure to select a high-quality paper that’s compatible with your heat press and the type of design you want to print.
Prep Your T-shirt: Before you start printing, give your T-shirt a good press to remove any wrinkles or moisture. This will ensure a smooth surface for your design.
Position Your Design: Carefully place your design on the T-shirt, making sure it’s centered and aligned correctly. You can use heat-resistant tape to secure it in place if needed.
Adjust the Temperature and Pressure: Different types of materials require different temperatures and pressure settings. Refer to the instructions for your heat press machine and the transfer paper to ensure the best results.
Press and Peel: Once everything is set up, it’s time to press! Close the heat press machine and apply pressure for the specified time. Afterward, carefully peel away the transfer paper to reveal your masterpiece!
With these tips in mind, you’ll be printing eye-catching designs on T-shirts like a pro!
Mug Printing: Sip in Style!
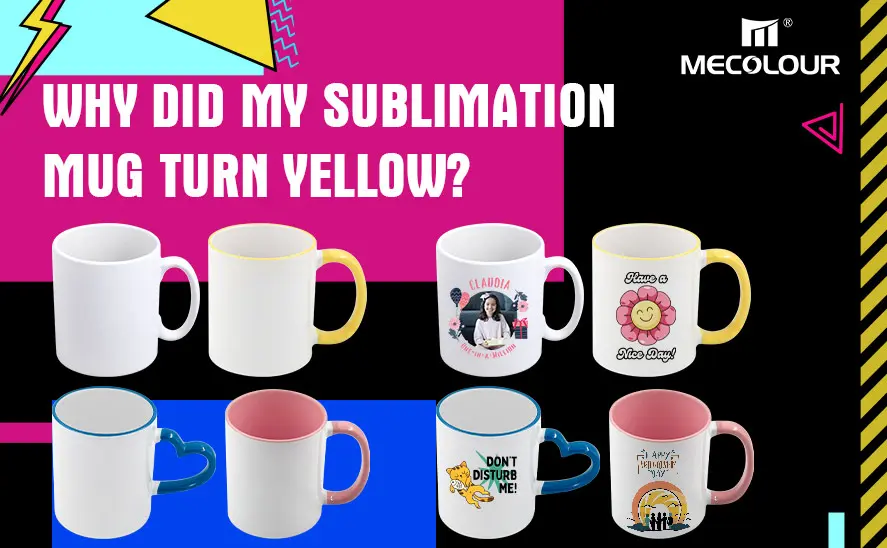
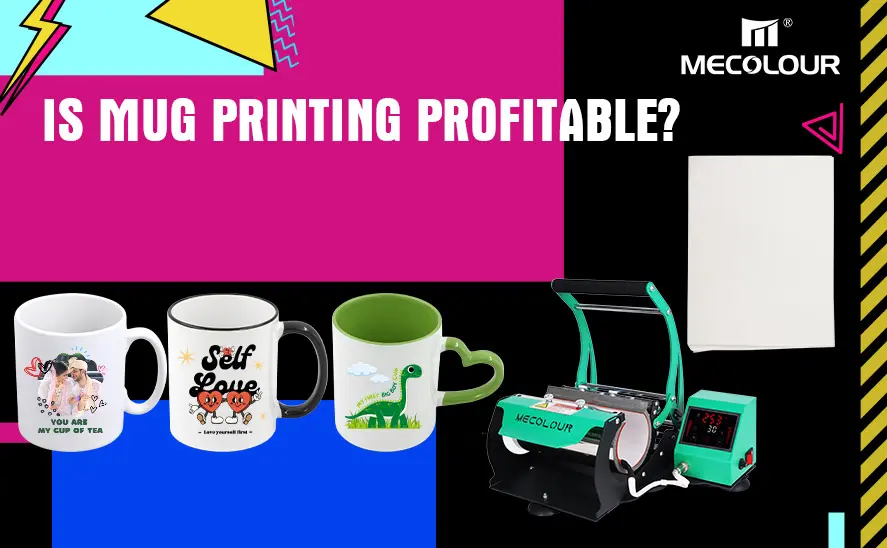
Who doesn’t love a personalized mug? Whether it’s for yourself or as a gift for a loved one, mug printing is a fun and creative way to add a personal touch to your daily routine. Here’s how to do it with your 8 in 1 heat press machine:
Choose the Right Mug: Not all mugs are suitable for printing. Opt for ones with a coated, smooth surface for the best results.
Prepare Your Design: Measure the dimensions of your mug and create a design that fits perfectly. Keep in mind any handles or curves that may affect the placement of your design.
Apply Heat Transfer Tape: To keep your design in place during the printing process, use heat transfer tape to secure it to the mug.
Set the Temperature and Time: Refer to the instructions for your heat press machine to determine the optimal temperature and pressing time for mug printing.
Press and Cool: Once everything is set up, carefully place the mug in the heat press and apply pressure. After the pressing is complete, allow the mug to cool before removing the transfer paper.
Voila! You now have a one-of-a-kind mug ready to brighten up your morning coffee routine.
How to use Mecolour 8 in 1 Multifunctional Heat Press Machine?
Hat Printing: Top Off Your Look!
Hats are not just for keeping the sun out of your eyes—they’re also a blank canvas for your creativity! With your 8 in 1 heat press machine, you can easily customize hats with logos, designs, or even witty slogans. Here’s how:
Choose the Right Hat: When selecting hats for printing, opt for ones made from materials like cotton or polyester, as they tend to yield the best results.
Prepare Your Design: Measure the dimensions of the hat’s printing area and create a design that fits within those parameters. Keep in mind any seams or curves that may affect the placement of your design.
Secure the Hat in Place: Use heat-resistant tape to secure the hat in place on the heat press machine, ensuring that it remains stable during printing.
Adjust the Temperature and Pressure: Refer to the instructions for your heat press machine to determine the optimal temperature and pressure settings for hat printing.
Press and Release: Once everything is set up, it’s time to press! Lower the heat press machine’s platen onto the hat and apply pressure for the specified time. Afterward, carefully release the platen and remove the hat to reveal your custom design.
With these tips and tricks, you’ll be printing hats that turn heads wherever you go!
With expert tips on T-shirt, mug, and hat printing, you’re well-equipped to elevate your customization projects and create personalized items for yourself or your business.
FAQs
Absolutely! Your 8 in 1 heat press machine is versatile enough to handle T-shirt, mug, and hat printing with ease.
While specialized software can be helpful, you can also create designs using basic graphic design tools or even hand-drawn sketches.
The setting time can vary depending on factors such as the type of material being printed on and the temperature and pressure settings of your heat press machine. In general, most designs will set within a few minutes of being pressed.


