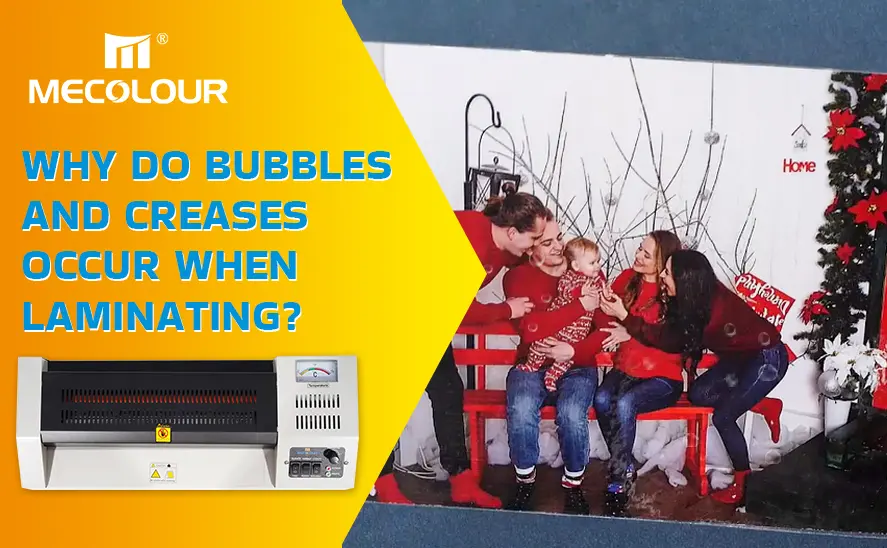
Why Do Bubbles and Creases Occur When Laminating?
Bubbles and creases are common issues when laminating and can significantly affect the appearance and quality of the finished product. These problems usually arise due to improper machine settings, incorrect handling of the laminating film, or environmental factors. Understanding the causes can help prevent bubbles and creases, ensuring a smooth, professional finish. Below are the main reasons why bubbles and creases occur during lamination and how to prevent them.
5 Major Causes and Solutions For Bubbles and Creases
1. Incorrect Temperature Settings
Cause:
If the laminator’s temperature is too high, the adhesive on the laminating film can overheat and produce air pockets, resulting in bubbles.
If the temperature is too low, the adhesive may not activate properly, causing poor bonding and the formation of creases.
Prevention:
✔️ Always follow the recommended temperature settings based on the thickness and type of laminating film.
✔️ Allow the laminator to fully preheat before starting the lamination process.
✔️ If bubbles or creases appear, adjust the temperature incrementally until the problem is resolved.
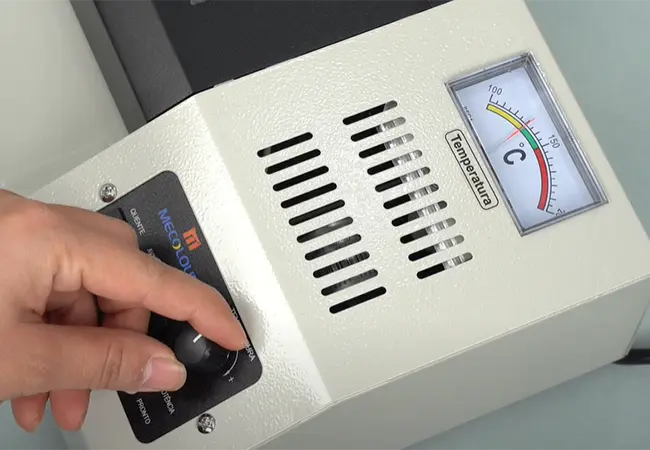
Temperature Settings
2. Uneven Pressure on the Rollers
Cause:
Misaligned or damaged rollers can create uneven pressure, causing the film to stretch or bunch up, leading to creases or bubbles.
Worn-out or dirty rollers can prevent smooth feeding of the laminating film.
Prevention:
✔️ Regularly clean the rollers to remove adhesive buildup and dust.
✔️ Inspect the rollers for damage and replace them if needed.
✔️ Ensure the rollers are properly aligned and apply even pressure.
✔️ Adjust the tension settings according to the manufacturer’s instructions.
3. Improper Feeding Technique
Cause:
Feeding the document into the laminator at an angle or too quickly can cause the film to fold or overlap, creating creases.
Wrinkled or curled paper can also lead to poor bonding and bubbling.
Prevention:
✔️ Feed the document straight into the laminator, avoiding any tilt or misalignment.
✔️ Flatten the document and ensure there are no creases or curled edges before laminating.
✔️ Let the rollers guide the film naturally — avoid pulling or forcing the document through the machine.
✔️ Use a guide or alignment tool to help with even feeding.
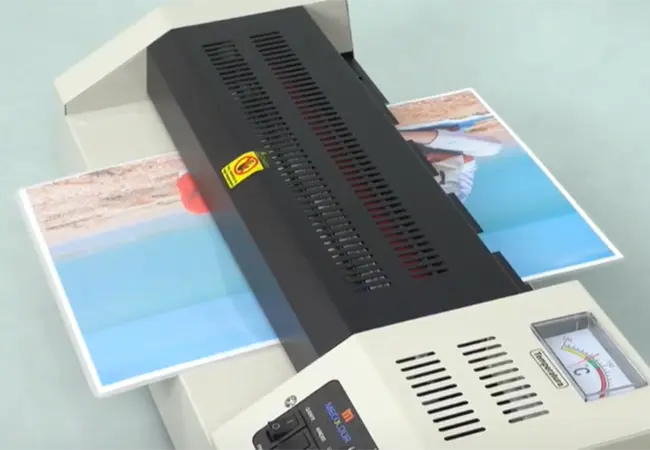
Film Feeding
4. Moisture Trapped Inside the Laminating Film
Cause:
If moisture is present in the document or the laminating film, it can create steam when exposed to heat, causing bubbles.
High humidity can also increase the chances of moisture getting trapped during lamination.
Prevention:
✔️ Store laminating film and pouches in a dry, cool place to prevent moisture absorption.
✔️ Use a dehumidifier in the room if humidity levels are high.
✔️ Ensure that the document is completely dry before laminating.
✔️ Preheat the laminator to allow excess moisture to evaporate before feeding the document.
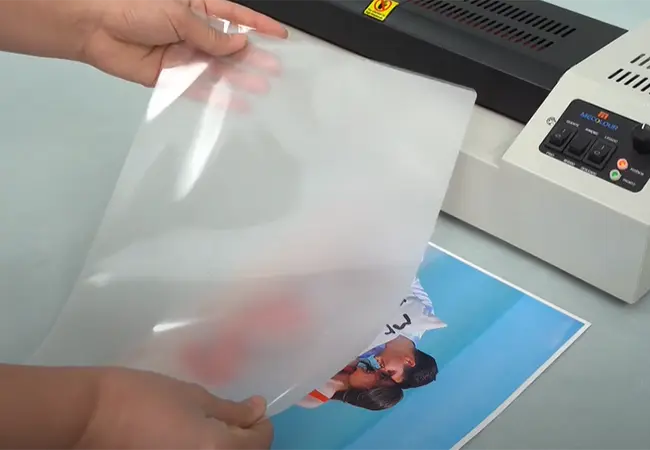
Laminating Film
5. Using Low-Quality Laminating Film
Cause:
Poor-quality laminating film may have uneven adhesive coating, leading to improper bonding and bubble formation.
Films that are too thin or too thick for the laminator’s settings can also cause bubbling and creasing.
Prevention:
✔️ Use high-quality laminating film compatible with your laminator.
✔️ Choose the right thickness and type of film for your machine.
✔️ Test a small piece of film before laminating important documents.
✔️ Check for any visible defects in the film before using it.
Bubbles and creases during lamination are typically caused by incorrect temperature settings, uneven roller pressure, improper feeding techniques, moisture, and low-quality laminating film. By identifying the root cause and applying the suggested solutions, you can achieve a smooth, professional lamination result. Regular maintenance and using high-quality materials are key to preventing these issues and extending the life of your laminating machine.